
User Management 101: Actions & Tools Panel
The Actions & Tools panel allows you to alter how a creator’s profile appears in your network.
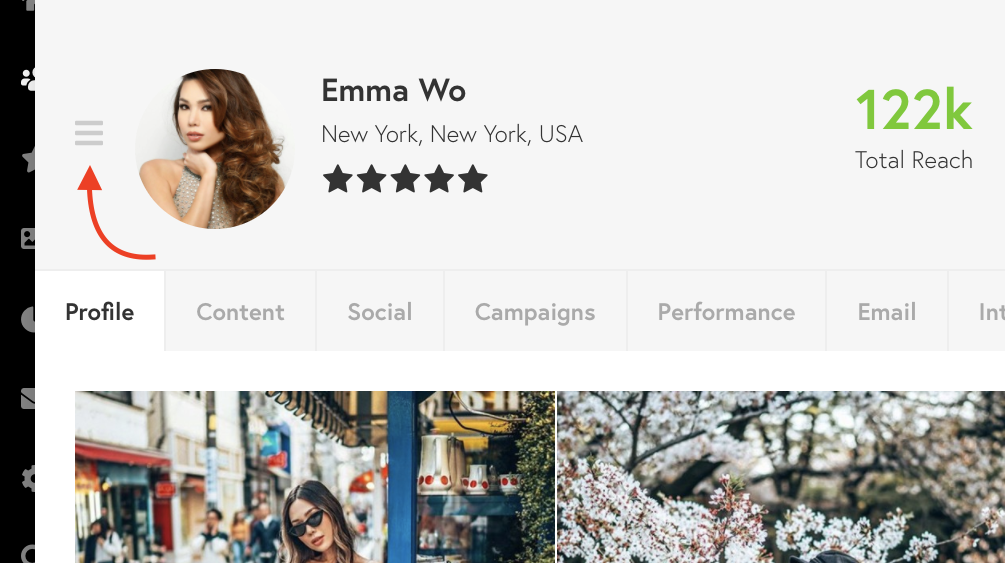
To access this pop-up, open their profile card and click on the hamburger icon next to their profile picture.
Through this tool, you can access helpful features such as:
Adding a Badge or List
Badges are a nice way of interacting with creators, creating a sense of community, and a helpful tool for filtering creators. To add a badge to a user’s profile or to add them to a list, click on the second tab, Add to Badge or List.
A pop-up should appear on the right side of your screen with. To add a user to a list, click on the check box next to the list’s name. If you scroll further down, you will see options to add a badge to the user’s profile. If you’d like to do so, click on the check box next to the badge name.
You can also create a badge! Click here to learn how to create a badge and manage existing ones.
Manually Add Social Handles for a User
To add a user’s social handles to their profile, click on the fifth tab, Add Social Handle.
Here you can specify which social media platform you are entering and then enter their handle below.
Although not necessary, you can also add the user’s following count on that platform for easier processing.
Note: Remember to click on the Save button to keep your alterations.
Editing a User’s Attributes
Note: This can only be done by Administrators of the network.
In order to edit a creator’s attributes, you must first click on the user’s profile card and click on the hamburger icon next to their name. This will then open the Actions & Tools panel, which gives you access to features such as editing attributes or manually adding a creator’s social handles.
Click on the first row, Edit Attributes.
You will then be redirected to a new tab, which allows you to edit a creator’s information in your network. You can add or change basic details such as their name, their public name, birthday, gender, and so on.
- If you click on the Your Profile tab, you also have the option to customize their profile, bio, and the content that is displayed to others in your network.
- In the Social Networks and Blogs tab, you can add a creator’s social media handles to their profile by clicking on the Add Account button on the top of this page.
Note: If you’d like more information on how this feature works, click on the About Your Data button, to the right of the Add Account button.
- The Password tab allows you to set a password for the creator’s account.
- In the Account Tools tab you have the option to:
- Allow debugging: This feature allows Tidal Labs to track your activity on the dashboard, in order to resolve debugging account issues. Click on the check box to enable this feature.
- Export Data: Export and view your personal data as a JSON file.
- Delete Your Account: Clicking this will permanently delete this creator’s profile from your network. It may take up to a week for your profile to be deleted.